
Network segmentation is the single best thing you can do for camera security. Here’s how to do it right on typical business gear.
A VLAN (virtual LAN) lets you split one physical network into separate logical networks. Putting cameras on their own VLAN means that even if a camera is compromised, it cannot reach your point-of-sale terminals, file server or office PCs.
You will need a managed switch that supports 802.1Q VLANs and a router or firewall that can route between VLANs and apply rules. Schedule a maintenance window, because cameras will briefly go offline.
Step 1: Plan your addressing
Pick a VLAN ID and subnet dedicated to cameras, for example VLAN 30 with 10.0.30.0/24. Document it alongside your other VLANs so nothing overlaps.
Step 2: Create the VLAN on your firewall
- Create a new interface or network for VLAN 30 with gateway
10.0.30.1. - Enable DHCP for the camera subnet, or plan static reservations for each camera.
- Point DNS to your firewall or a trusted resolver.
Step 3: Configure the PoE switch
- Set the uplink port to your firewall as a trunk carrying VLAN 30 (tagged).
- Set each camera port as an access port on VLAN 30 (untagged).
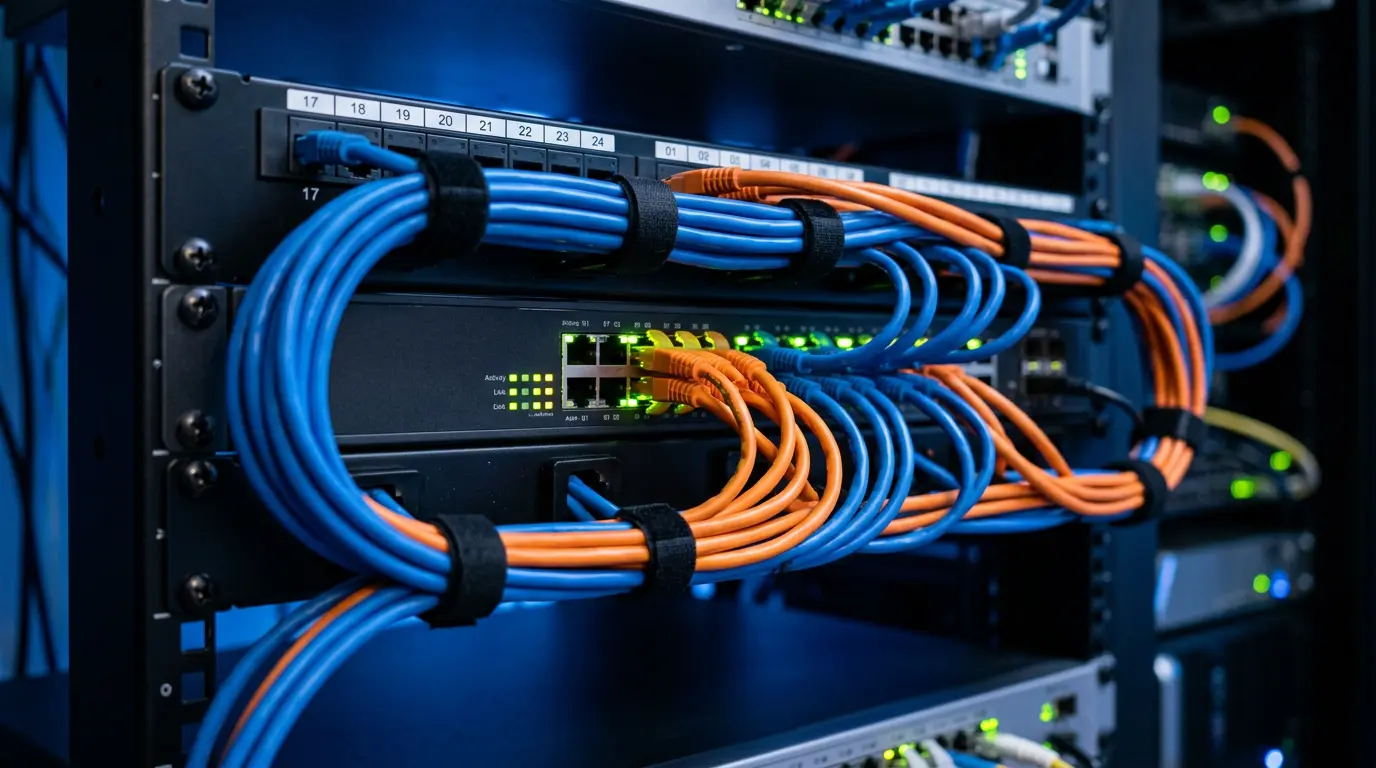
- Label the ports. Future-you will thank you.
Step 4: Write the firewall rules
This is where segmentation actually happens. A good starting policy for cloud-connected cameras:
- Allow camera VLAN → internet on the ports your cloud video provider requires (typically HTTPS/443).
- Allow camera VLAN → DNS and NTP (accurate time matters for evidence).
- Block camera VLAN → all other internal VLANs.
- Block all inbound traffic from the internet to the camera VLAN, with no port forwards.
- Optionally allow a single admin workstation → camera VLAN for maintenance.
Step 5: Move cameras and verify
- Move cameras one at a time and confirm each receives an address in the new subnet.
- Confirm every camera reconnects to the cloud platform and is recording.
- From a camera-VLAN test device, confirm you cannot reach business systems.
- Disable UPnP on the firewall if you haven’t already.
What about Wi-Fi cameras?
Create a dedicated SSID mapped to the camera VLAN, use WPA2/WPA3 with a unique passphrase, and enable client isolation where supported.
Want us to handle it?
Network segmentation is part of every VoxCloudCam deployment. See our camera support pages for brand-specific setup, or book a support call and we’ll handle it.

Certified IT and video-surveillance specialists supporting Southern California organizations for over two decades.